How to Configure DKIM for IONOS

Quick Answer
To configure DKIM for IONOS, generate a DKIM record in your email authentication platform, add the provided TXT record to your IONOS DNS settings, and verify the record after DNS propagation. Proper DKIM setup helps improve email security and deliverability.
Email authentication is an essential part of protecting your domain from spoofing, phishing, and unauthorized email activity. One of the most effective authentication methods is DomainKeys Identified Mail (DKIM), which allows receiving mail servers to verify that your outgoing messages have not been altered during transit.
This guide explains how to set up DKIM for a domain that uses IONOS.
What Is DKIM?
DKIM is an email authentication standard that adds a digital signature to outgoing messages. When an email reaches its destination, the receiving server checks the signature against a public key stored in your DNS records. If the signature matches, the email is considered authentic and untampered.
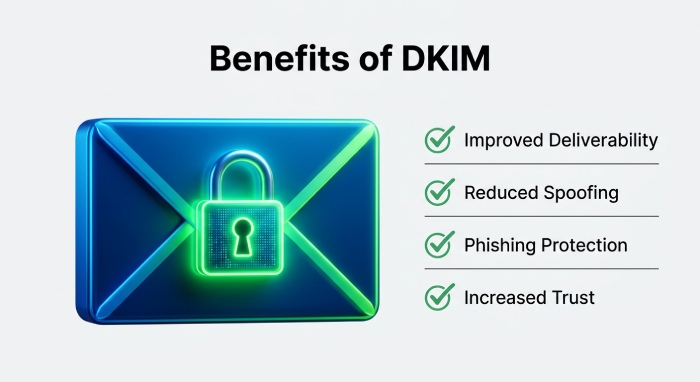
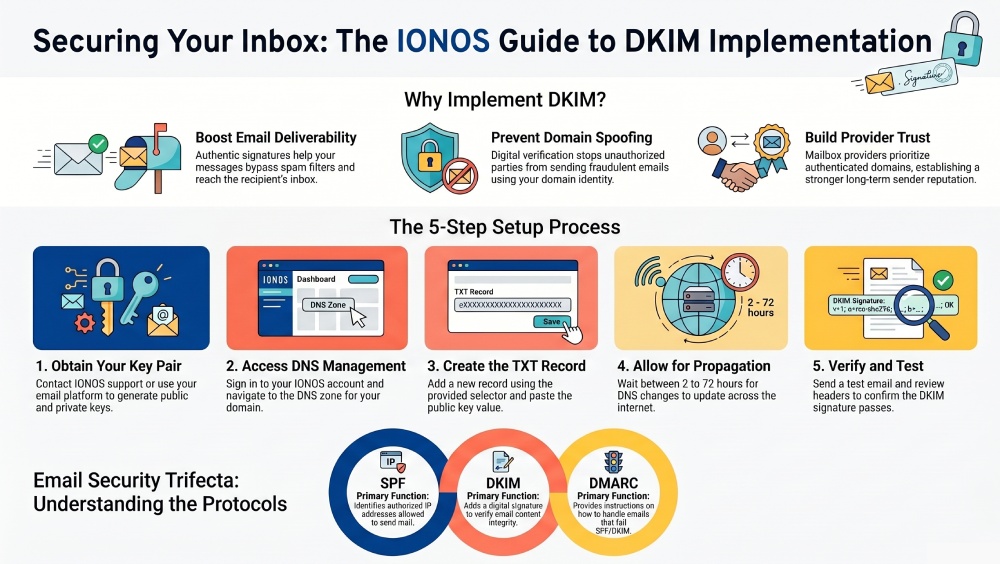
Benefits of DKIM include:
- Improved email deliverability
- Reduced risk of domain spoofing
- Better protection against phishing attacks
- Increased trust with mailbox providers
Obtain Your DKIM Keys
Before publishing a DKIM record, you need a DKIM key pair consisting of:
- Public Key – Published in your DNS records for verification.
- Private Key – Used by the mail server to sign outgoing messages.
If IONOS is handling your email services, contact their support team or consult your email service settings to determine how DKIM keys are provided and managed. If you use a third-party mail server, generate a DKIM key pair through your email platform or mail server software.
Add the DKIM Record to DNS
Once you have the DKIM details, publish the public key in your domain’s DNS zone.
Step 1: Access DNS Management
- Sign in to your domain management account.
- Open the DNS management section for the domain you want to authenticate.
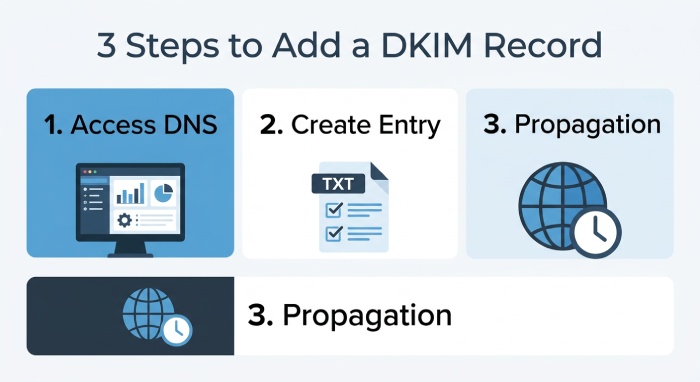
Step 2: Create the DKIM Entry
- Select the option to add a new DNS record.
- Choose the record type specified by your email provider (typically TXT, though some providers may use CNAME).
- Enter the DKIM selector or hostname provided with your key.
- Paste the public key value into the record field.
- Save the configuration.
Step 3: Allow DNS Propagation
DNS changes may take several hours to become visible across the internet. In some cases, full propagation can take up to 72 hours.
Verify the DKIM Configuration
After the DNS update has propagated:
- Check that the DKIM record is publicly visible.
- Send a test email from your domain.
- Review the message headers to confirm that DKIM authentication passes.
- Use a DKIM validation tool if available through your email security platform.
Troubleshooting Common Issues
DKIM Record Not Found
- Confirm the selector name is correct.
- Verify the record was published under the correct domain.
- Wait for DNS propagation to complete.
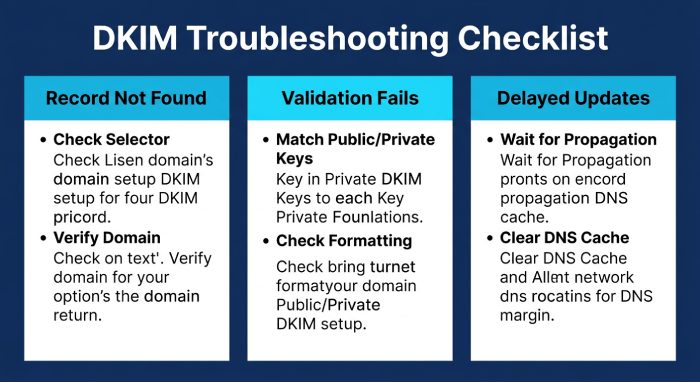
DKIM Validation Fails
- Ensure the public key in DNS matches the private key used by the sending server.
- Check for formatting errors or missing characters in the record.
- Confirm the correct selector is being used during email signing.
Delayed DNS Updates
- Allow additional time for propagation.
- Clear local DNS cache if necessary.
- Verify that the record has been saved correctly within your DNS provider’s interface.
Strengthen Email Security with DMARC
DKIM works best when combined with SPF and DMARC. Together, these protocols help mailbox providers authenticate your emails and reduce the likelihood of fraudulent messages being sent from your domain.
Implementing all three standards creates a stronger email security posture and helps improve inbox placement rates.
Final Thoughts
Configuring DKIM for an IONOS domain involves generating or obtaining a DKIM key pair, publishing the public key in DNS, and verifying that outgoing messages are properly signed. Once enabled, DKIM helps safeguard your domain’s reputation, enhances email trustworthiness, and contributes to stronger overall email security.
General Manager
Founder and General Manager of DuoCircle. Product strategy and commercial lead for AutoSPF's 2,000+ customer base.
LinkedIn Profile →